Years ago, I was at a software conference for the woodworking industry in Sugarcreek, Ohio. As the morning droned on and we were all starting to fall asleep from boredom, the presenter paused for a break and started to hand out doughnuts. I assume his motive was to give us all a sugar rush in the hopes that we’d stay conscious for the rest of the talk. I passed on the doughnut, as I typically don’t eat sugary junk foods, especially those with processed white flour and refined sugar.
I was seated next to a pleasant young Amish man (they own and operate many of the woodworking businesses in southeast Ohio, and yes, they use CNC equipment and use software to run it). I was a bit surprised to see that he did accept a doughnut and even had seconds. I admittedly don’t know much about Amish culture, but for some reason, I thought that they generally rejected commercially available “junk” foods, in favor of home-cooked foods and treats. I have no idea exactly why I thought that, but it obviously isn’t true, at least not in this case.
I leaned over to him and somewhat jokingly whispered, “That’s not healthy, you know” with a smile, to which he whispered back almost immediately, “It’s also healthy to be happy.”
That’s a little nugget of wisdom that made an impression and has stuck with me. It has made me re-examine my stance on eating dessert-style foods, and while you still probably wouldn’t catch me eating doughnuts, I do now sometimes indulge in high-quality, whole-food-style desserts. What I mean by that is mostly homemade dishes with healthy, organic ingredients that aren’t processed (or are, but very minimally). Balanced with an overall healthy diet and lifestyle that includes exercise and relaxation in nature, there’s nothing wrong with having a piece of cheesecake every now and then…if it makes you happy.
Why cast Iron for Cheesecake?
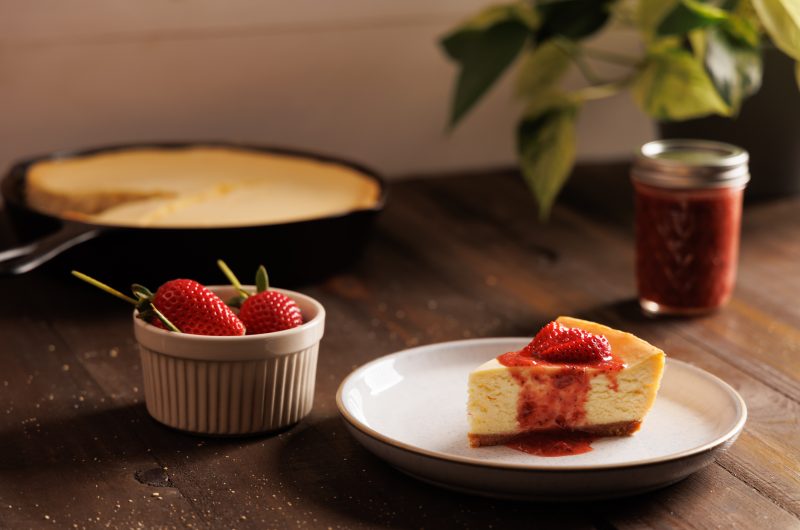
We’ve recently rediscovered our love for cast iron and its many uses. We’ve even been fortunate enough to find some vintage Griswold pieces that are nearly 100 years old! The skillet we used for this cheesecake was one of those – a vintage #8 in pristine condition.
One of the obvious benefits of using cast iron is that assuming you have an old skillet lying around, you don’t have to go out and purchase a specialized cheesecake pan. More importantly, well-seasoned cast iron is virtually non-stick – helping you to avoid the health issues associated with using non-stick cookware (developmental problems, liver damage, cancer, and early menopause, just to name some).
An even bigger benefit to cast iron, in my opinion, is that we help to curb the negative environmental impacts that manufacturing non-stick cookware has on the planet. The main by-product of its manufacturing process is PFAS (per- and poly-fluoroalkyl), which causes a myriad of terrible diseases in humans and animals, including cancer. PFAS is also persistent in the environment, which means it doesn’t break down easily, and so it accumulates in the soil, water, and air.
In addition to the use of PFAS, the manufacturing process of non-stick cookware can also release harmful particles and gases into the environment. When non-stick cookware is heated to high temperatures (even on your own stove), it can emit toxic particles and carcinogenic gases that are linked to human illnesses and pet bird deaths.
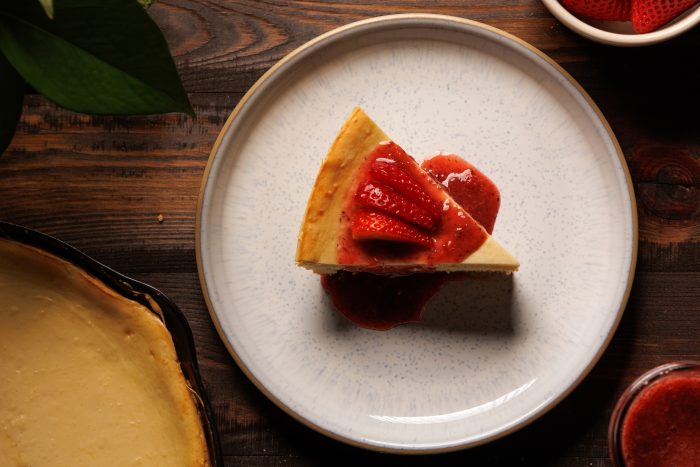
This cast-iron New York-style cheesecake is a classic, no-nonsense version of a dessert favorite. There are lots of variations that throw in unnecessary ingredients that dilute the pure, honest, rich beauty that is CHEESECAKE. Here, we’ll only use the purest ingredients available. Even the strawberry topping is simple and homemade. (We’ll post the recipe for that too).
Let’s get to the recipe.
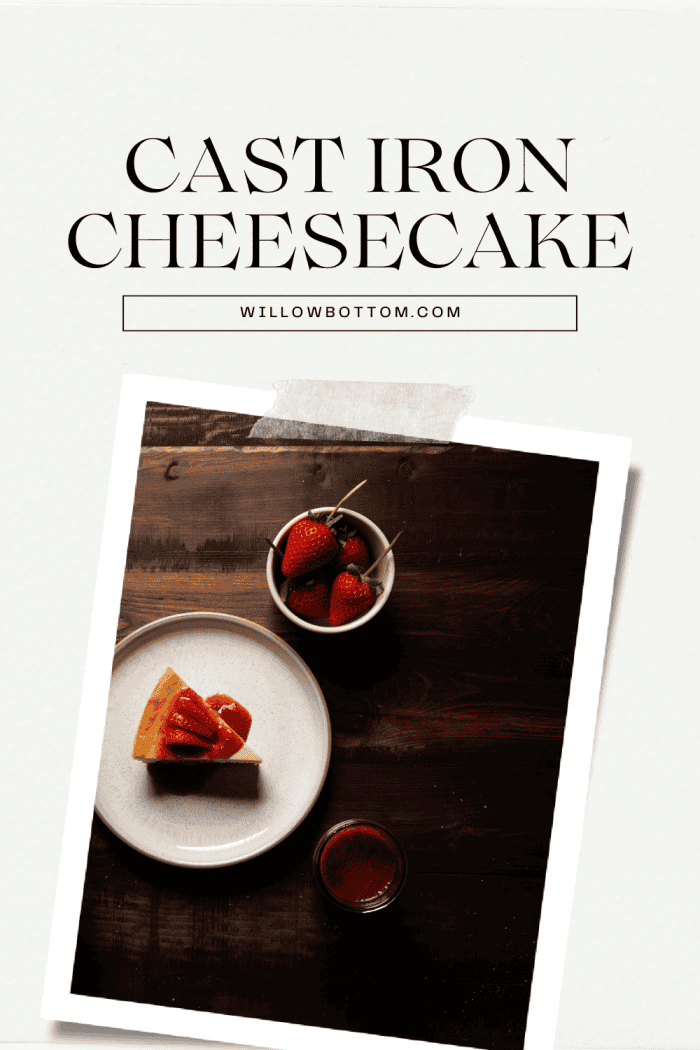
Cast Iron New York Style Cheesecake
20
minutes1
hour6
hours20
minutesIngredients
- Crust
1 cup handmade graham cracker crumbs
1/4 cup ghee, melted
2 tbsp organic cane sugar
- Filling
32 oz of cream cheese, room temperature
1 cup sugar
1.5 tsp vanilla
4 chicken eggs or 14 jumbo quail eggs
Directions
- Preheat oven to 325°F
- Fully coat the inside of a 10-inch cast iron skillet in ghee
- Crust
- Combine 1 cup graham cracker crumbs in a bowl with 1/4 cup melted ghee and 2 tbsp sugar. Don’t be afraid to use your hands for this.
- Place the mixture in the skillet and press lightly to cover the entire bottom.
- Filling
- Soften the cream cheese by leaving it out at room temperature for an hour.
- Beat the cream cheese, 1.5 tsp vanilla, and 1 cup sugar until smooth.
- Add 4 eggs, one at a time, into the mixture and mix until blended. Mix on low speed.
- Add the filling to the cast iron pan and place in the oven for 50 – 55 minutes or until the center is set.
- Open the oven and allow the cake to cool slowly.
- Once it has reached room temperature, place the cheesecake in the refrigerator for four hours.
- Enjoy plain or with your favorite topping. We highly recommend our homemade strawberry topping.
Notes
- We used a Kitchenaid mixer, but a hand mixer will work just as well.
- Don’t overwhip the filling. As soon as it’s smooth and blended, pour it into the skillet.
- Don’t overbake the cake. A slight jiggle in the center is ok.
- Don’t cool it too fast. It’s ok to just turn the oven off and open the door to let the heat escape.

Did you make this recipe?
Tag @willowbottom_homestead on Instagram and use hashtag #willowbottom


Recipe for the strawberry topping?
No problem! Let us know how it turns out.
I can’t wait to try this! Thanks you for sharing 😊